Resin art is an incredibly popular medium, and for good reason. Resin is durable, easy to work with, and has a variety of beautiful, lifelike finishes.
One of the great things about resin art is that it can be created in a wide variety of styles. There are Abstracts, Wildlife, Pop Art, and much more. Whether you’re a beginner looking to try resin art for the first time, or an experienced artist looking for new ways to express yourself, there’s a style for you.
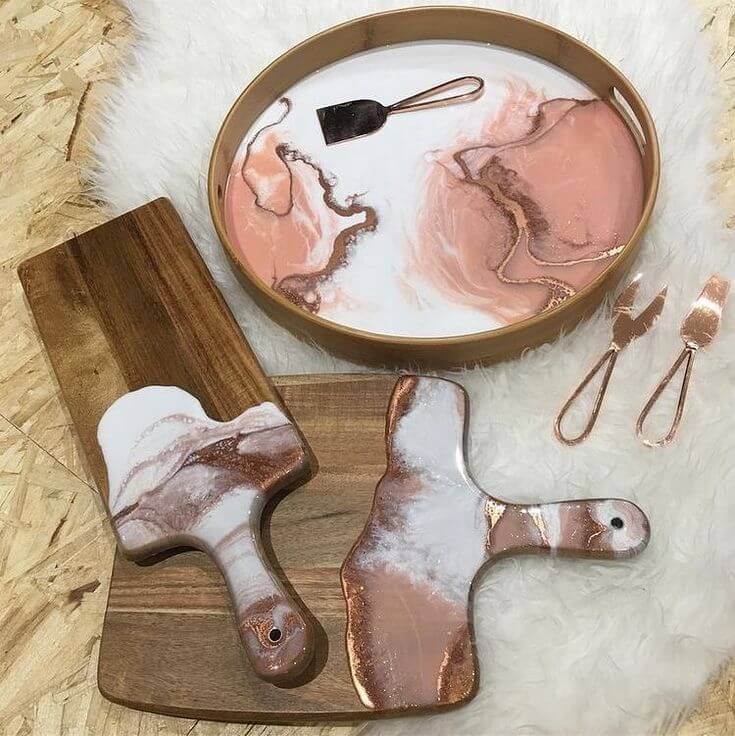
Resin is a strong, long-lasting substance that leaves a high gloss, protective surface that enables a range of artistic expressions. Epoxy resin is frequently used in art in a variety of ways, from sealing other works like drawings, watercolor works, oil paintings, and photographs to creating beautiful, high shine, ultra-glossy protective varnish. It can also be used with silicone molds to cast objects such as coasters, dishes, and jewelry.


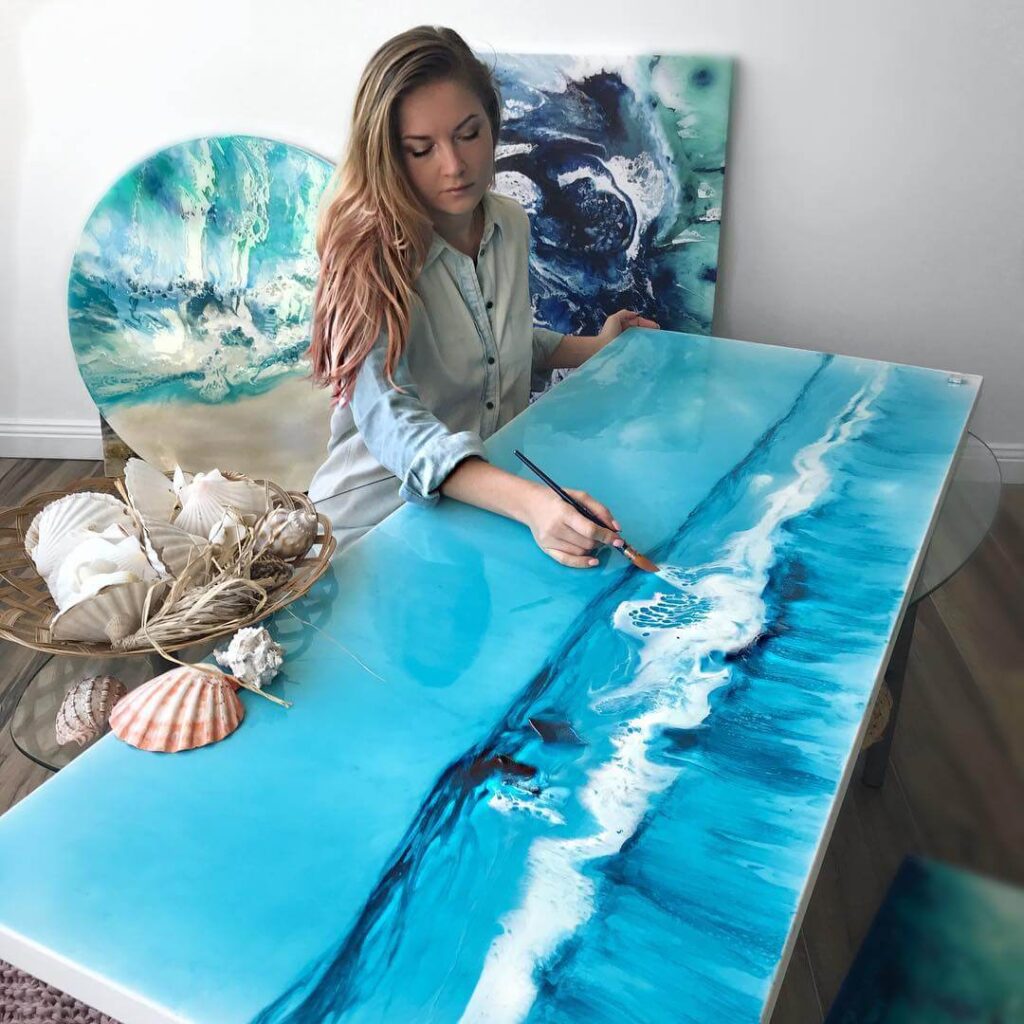
Many resin artists draw inspiration from the beautiful patterns seen in nature and then bring these abstract, coordinated, and flowing colors and shapes to life on their chosen support. Unique and appealing resin artworks can be created by using components like flowers, stones, pictures, glitter, and even forming cells using silicone oil.
It is vital to remember that resin is poisonous while it is active but safe after it has solidified. There are some safety measures you need to think about as a result of this. Always ensure the area where you are working is sufficiently ventilated and that you wear long sleeves, disposable nitrile gloves, and safety glasses or goggles to protect your skin and eyes.
There is a chance of spills, so make sure to cover your floors and the space around them with foil or plastic sheets. If any resin accidentally gets on your skin, wash it off with vinegar, soap, and water.
In 9 simple steps, learn how to make resin art.
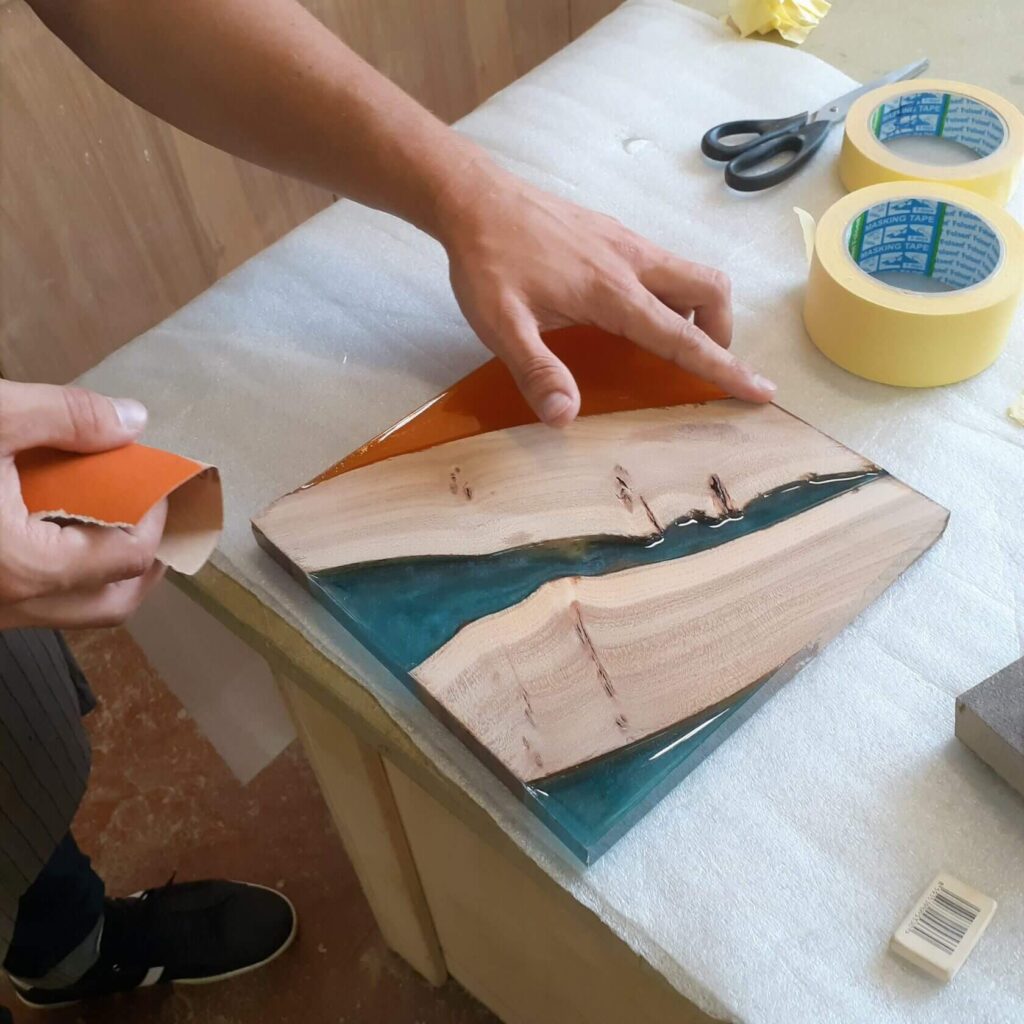
1. Set up your workspace with all the necessary gear and keep safety in mind. Use masking tape to cover the portions of your support where you don’t want the resin to adhere. Spray paint or an all-purpose sealant, like this one from Jo Sonja, can also be used to prepare the support.
2. Position the painting base on a high surface (for instance, balanced on 4 plastic cups) to prevent the resin from setting up on the foil or newspaper underneath. Make sure the surface is level before beginning to paint; a spirit level is recommended for this.
3. Combine the resin and hardener thoroughly.
4. Stick to a ratio of one part fluid acrylic paint to ten parts resin when combining resin and acrylic paints for the best results. Additionally, you may use airbrush paint with a 1:10 ratio, powder pigments, alcohol inks (but keep in mind that doing so will make the resin highly flammable), and powder pigments. It’s ultimately up to your imagination, but you can utilize conventional pouring methods like those used in the acrylic pour, such as the flip cup or swirl method, or you can just pour the resin onto the support.
5. Use a knife, spatula, foam roller, or tilt the painting surface to spread the resin out.
6. To release air pockets if any bubbles form, briefly apply a heat torch or hot air dryer about 10 cm away from the surface. Using tweezers, you can also delicately remove any foreign substances (such as hair or dust).
7. Add a silicone oil, such as the Mont Marte Acrylic Medium – Silicone Oil 60ml or the Helmar H4000 Silicone Oil 100ml, to the resin to produce cell effects. Glitter, gold leaf, and other materials can also be used to produce one-of-a-kind, breath-taking effects.
8. To prevent dust from getting on the work and to let it cure, cover it. If at all possible, stay away from exposure to extreme temperature changes.
9. Use isopropanol or vinegar to clean your tools.
